For example, you could easily install them onto any removable drive and then could boot the required OS from it. You no longer need to create a separate partition of the OS, as opposed to what you do in case of dual booting. In this guide, we will be having a look at some of the best emulators and Virtual Machines that will help you in running Windows OS on your Mac and the macOS on your Windows desktop. But before beginning with the guide, just make sure to have a backup of all the entire files on your PC. Although these Emulators or Virtual Machines don’t necessarily cause any data loss, yet we will be required to format one or two partitions along the way, especially while installing macOS on Windows PC. Moreover, it is always better to be on a safer side. Hence, having a complete backup is always recommended. So without further ado, let’s begin with the guide.
How to Install macOS Apps on Windows PC?
In this guide, we will be enlisting the steps to run macOS on your Windows desktop. But before beginning with the instructions, it is recommended to go through the below requirements. If your PC doesn’t support these requirements, chances are you won’t be able to run macOS on your desktop.
Prerequisites
Step 1: Downloading the Required Files
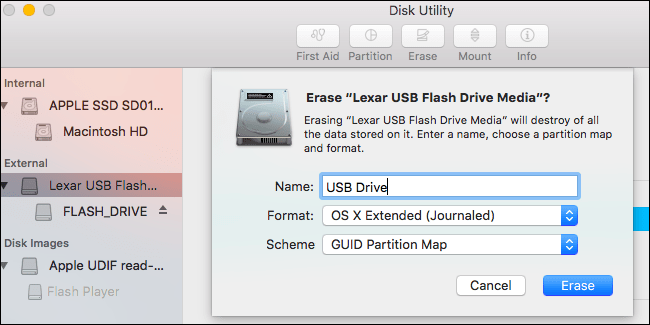
Step 2: Formatting the USB Drive
Now you will need to format your USB Drive on which the installer needs to be placed. To do so, here are the steps to follow. Note that the following steps are to be carried on Mac itself.
That’s it. You have successfully formatted your USB Drive with the Mac File System. Proceed ahead with the next steps.
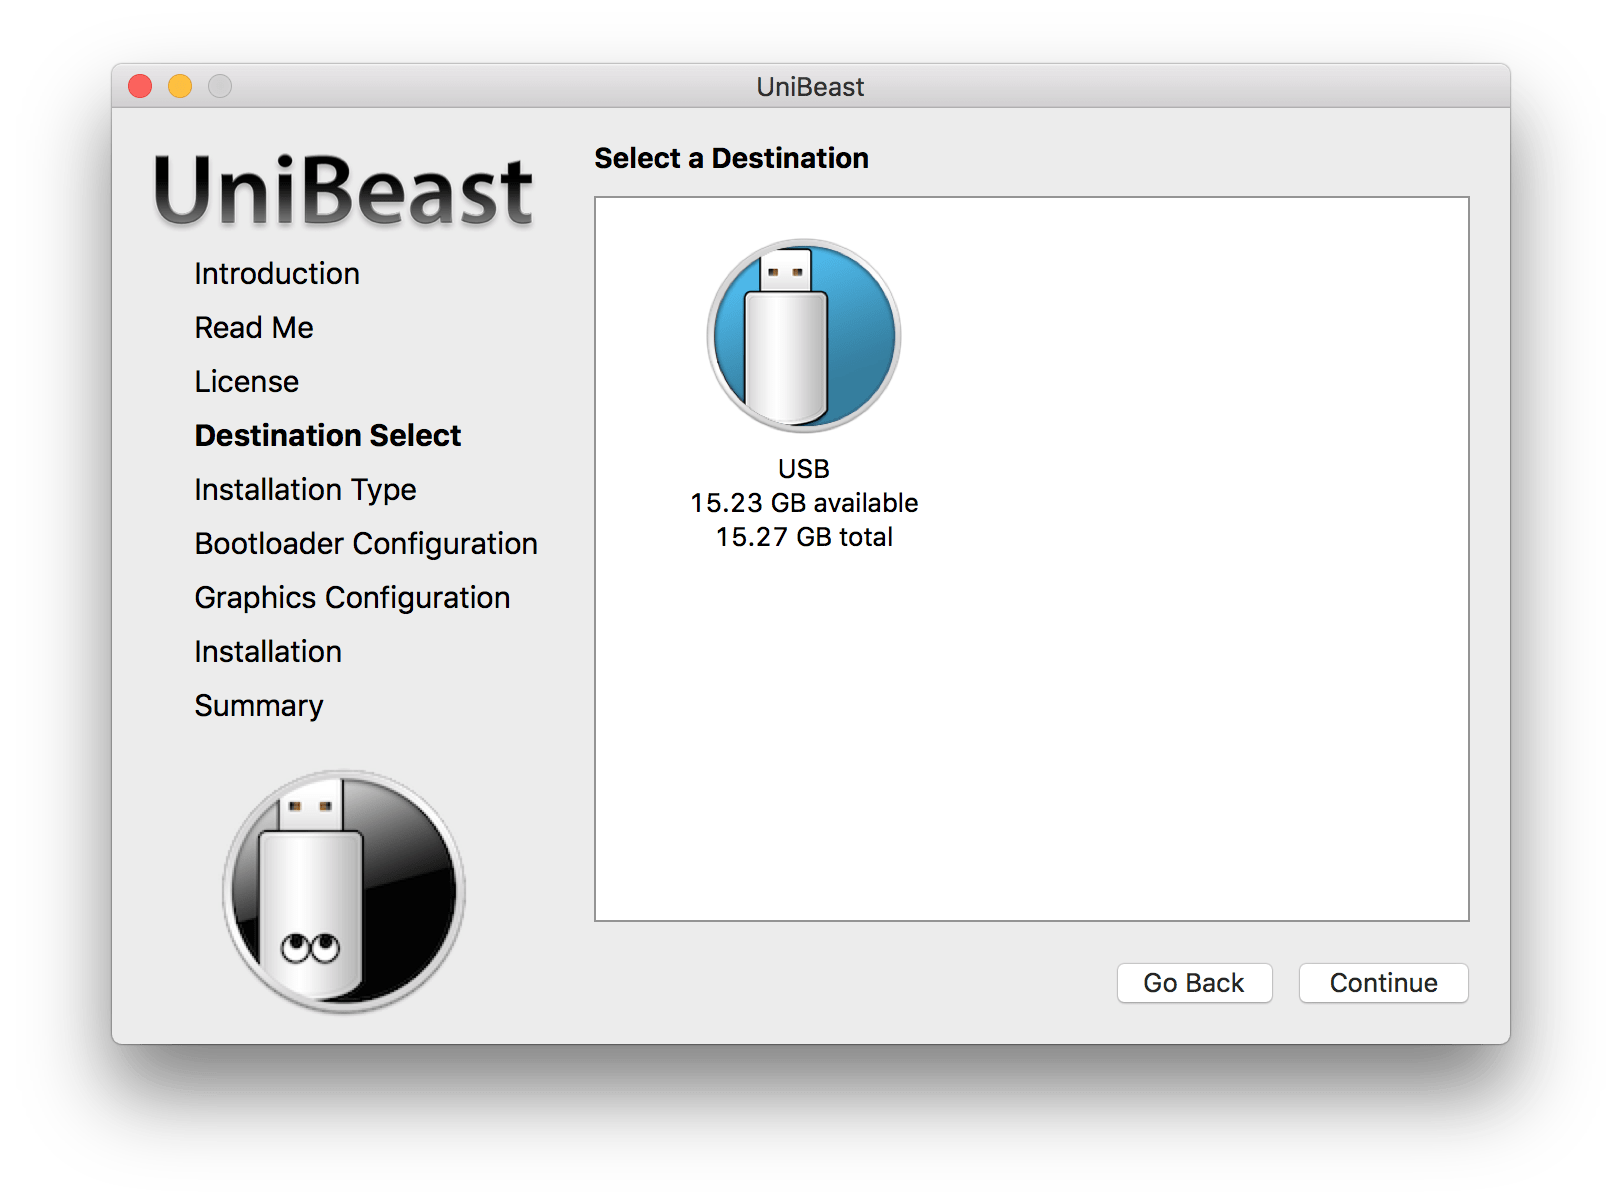
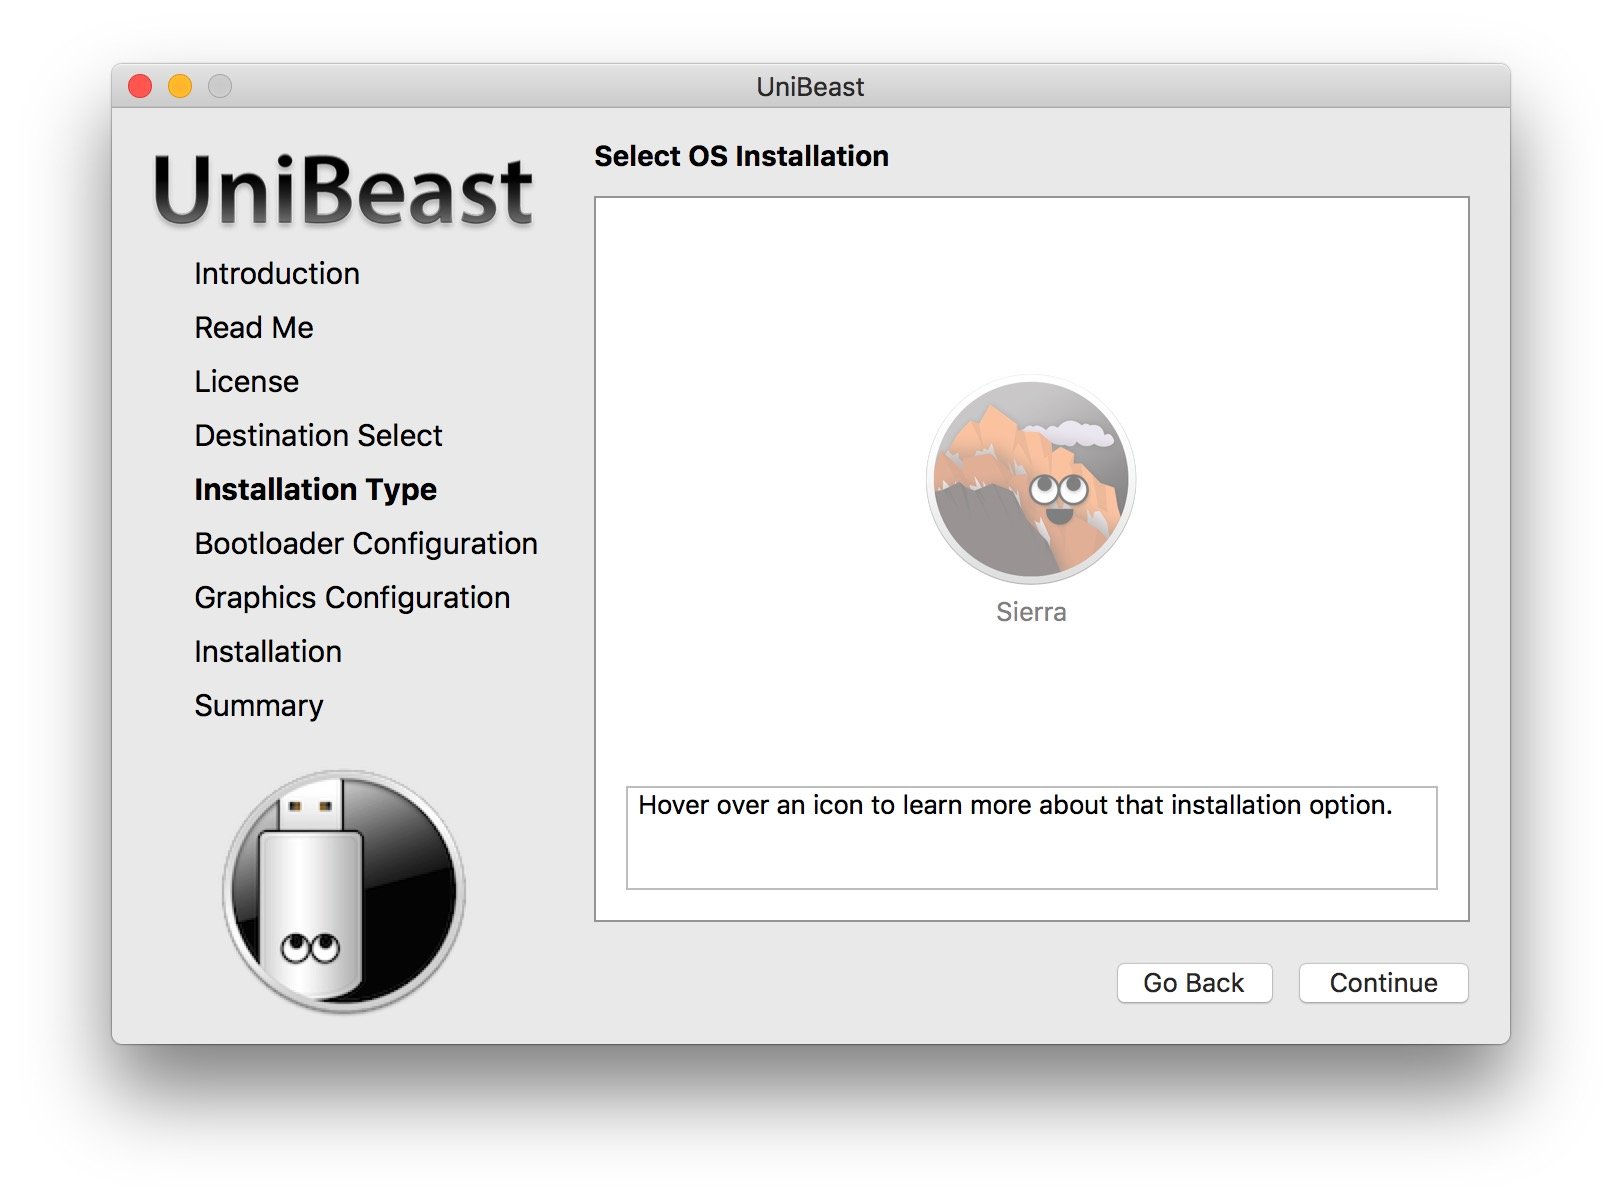
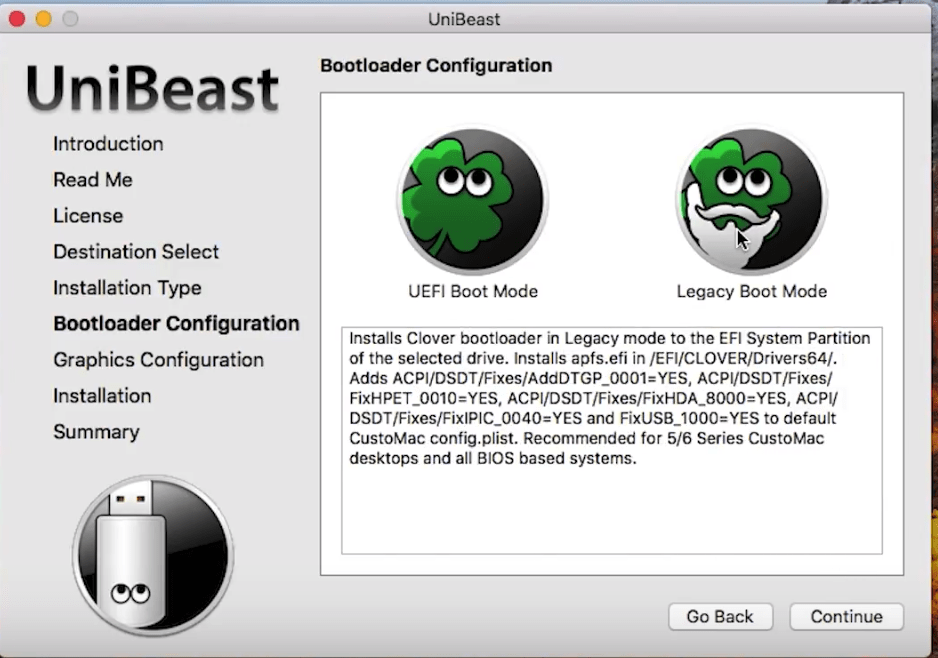
Step 3: Creating a macOS Installation Tool on your PenDrive
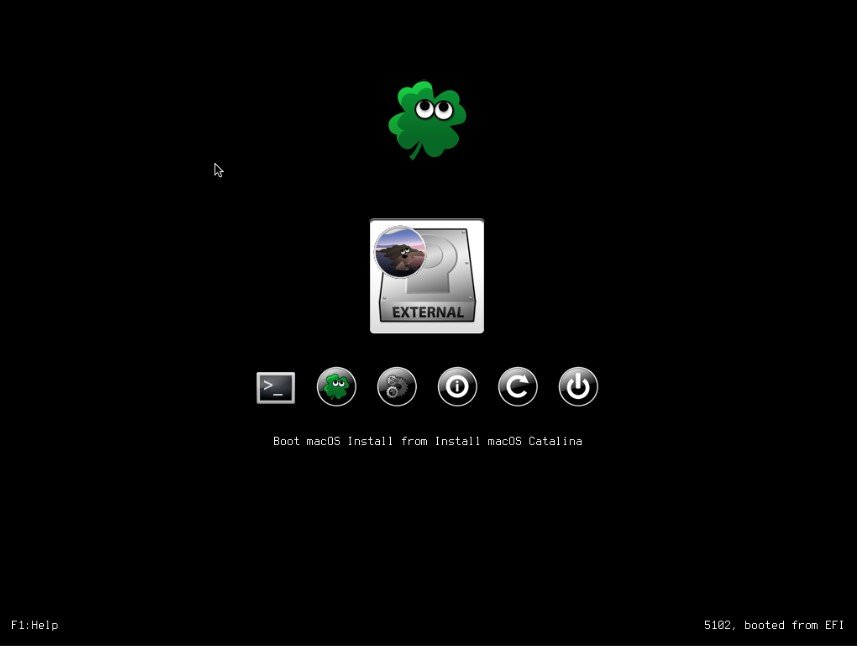
Step 4: Change Windows Boot order Sequence
By default, your PC will boot up from the OS installed on the hard disk. In order to make sure that doesn’t happen and rather it boots to the macOS, we will have to change the Windows booting sequence. In simpler terms, we will make your PC boot from the PenDrive and not the default state i.e hard disk. To do so, here are the steps to follow.
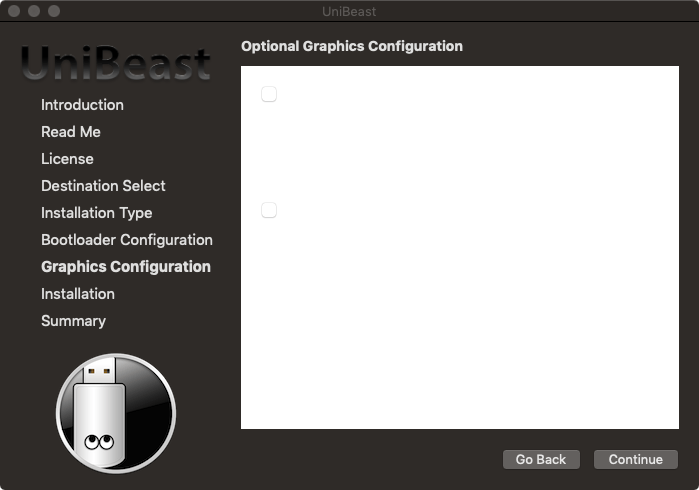
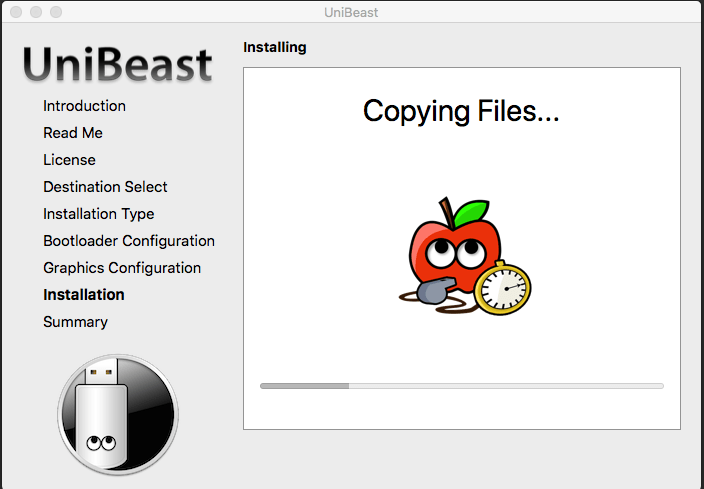
Step 5: Installing macOS on Windows PC
Now that we have done the prerequisites, downloaded the necessary files and changed the boot order, it’s finally time to install the macOS on your Windows PC. Here is how this could be done.
Now that we have done the prerequisites, downloaded the necessary files and changed the boot order, it’s finally time to install the macOS on your Windows PC. Here is how this could be done.
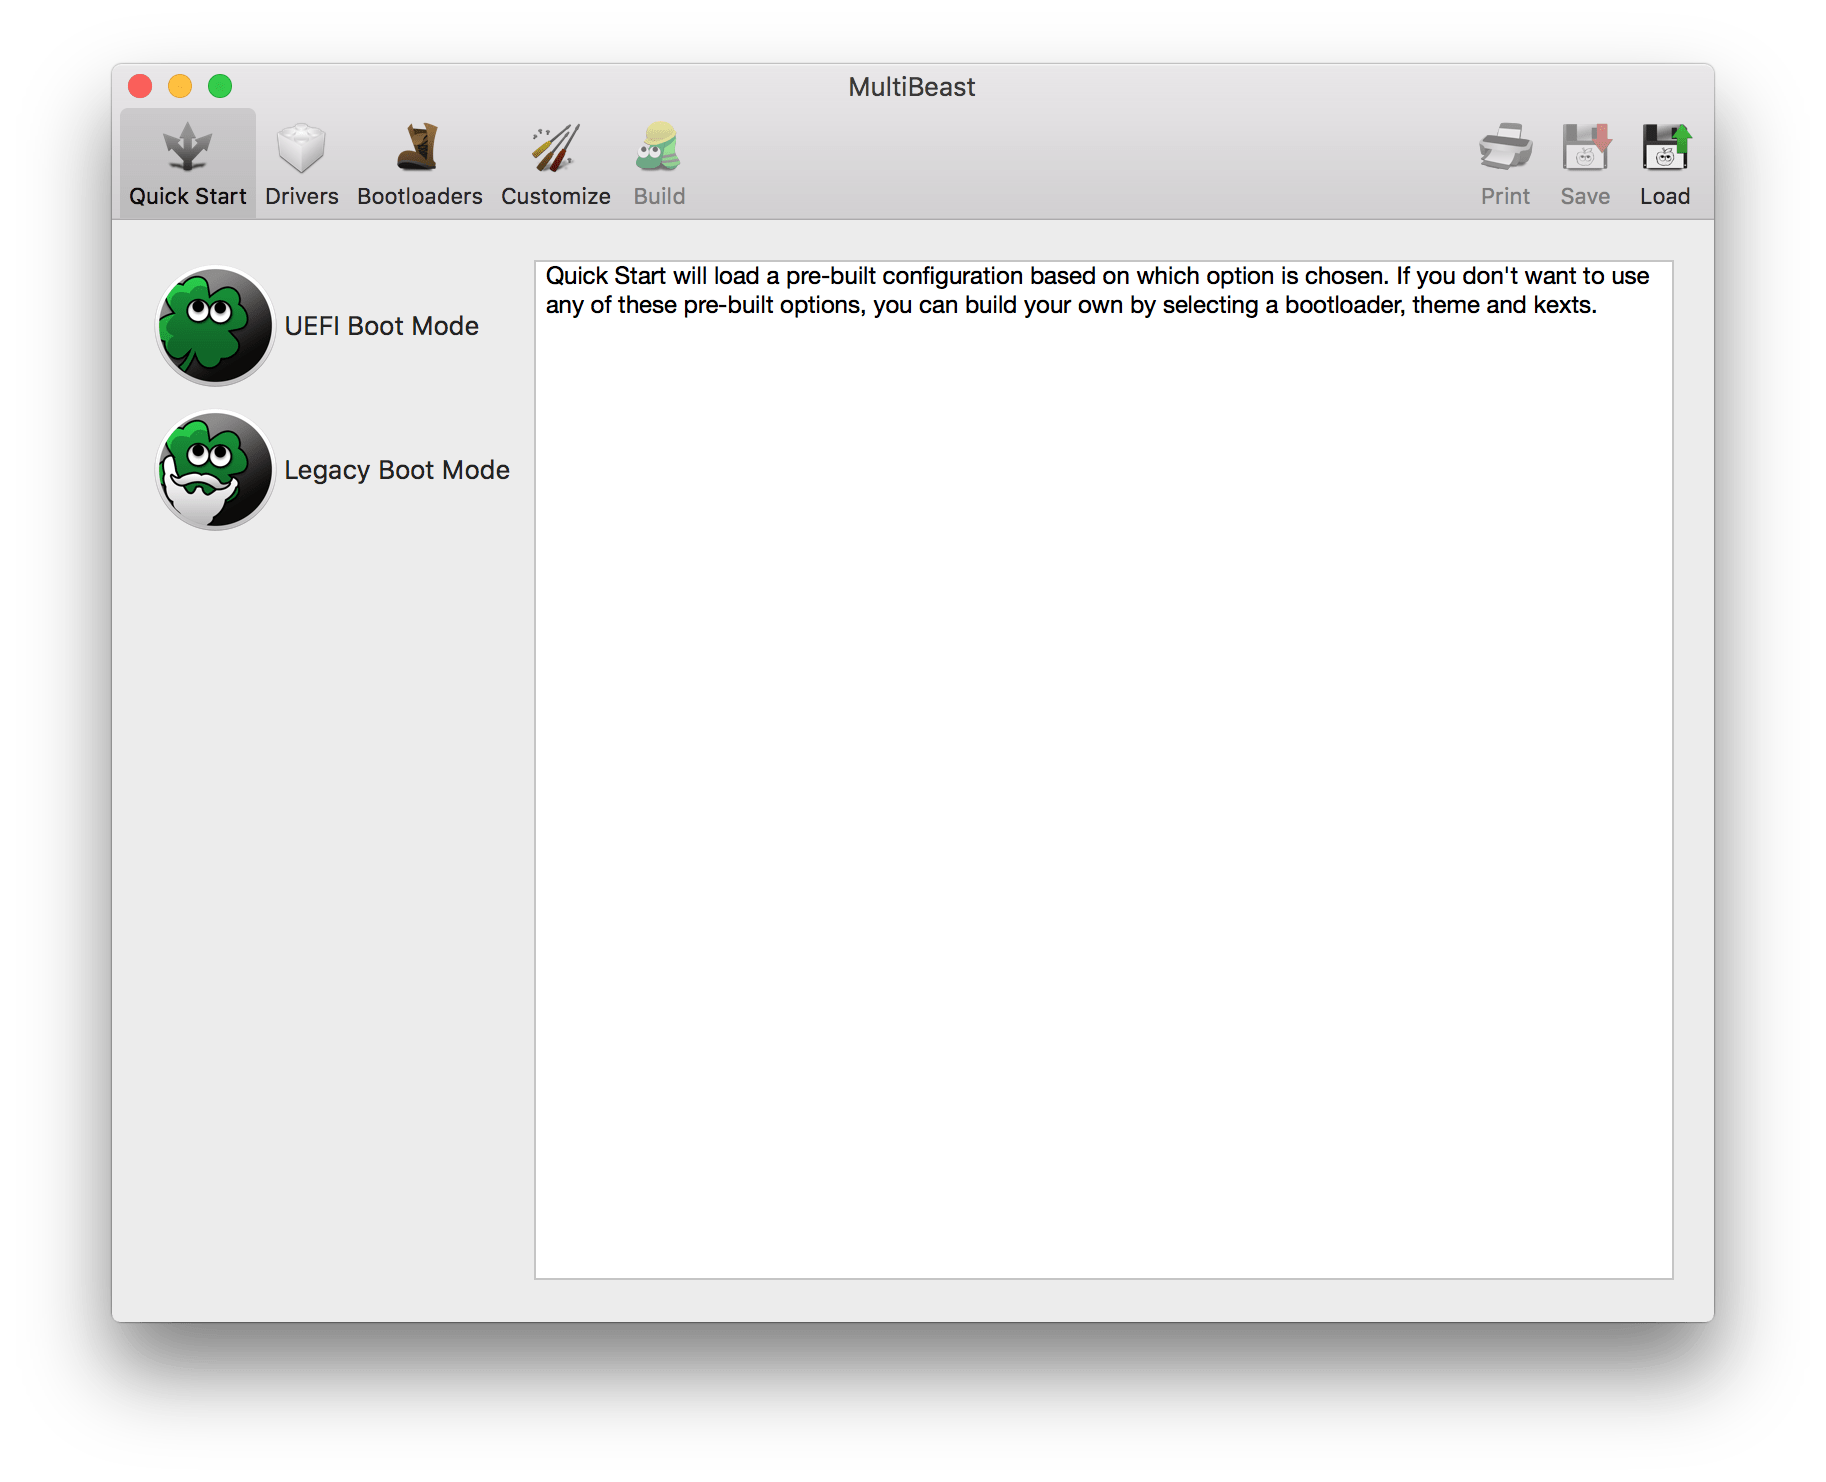
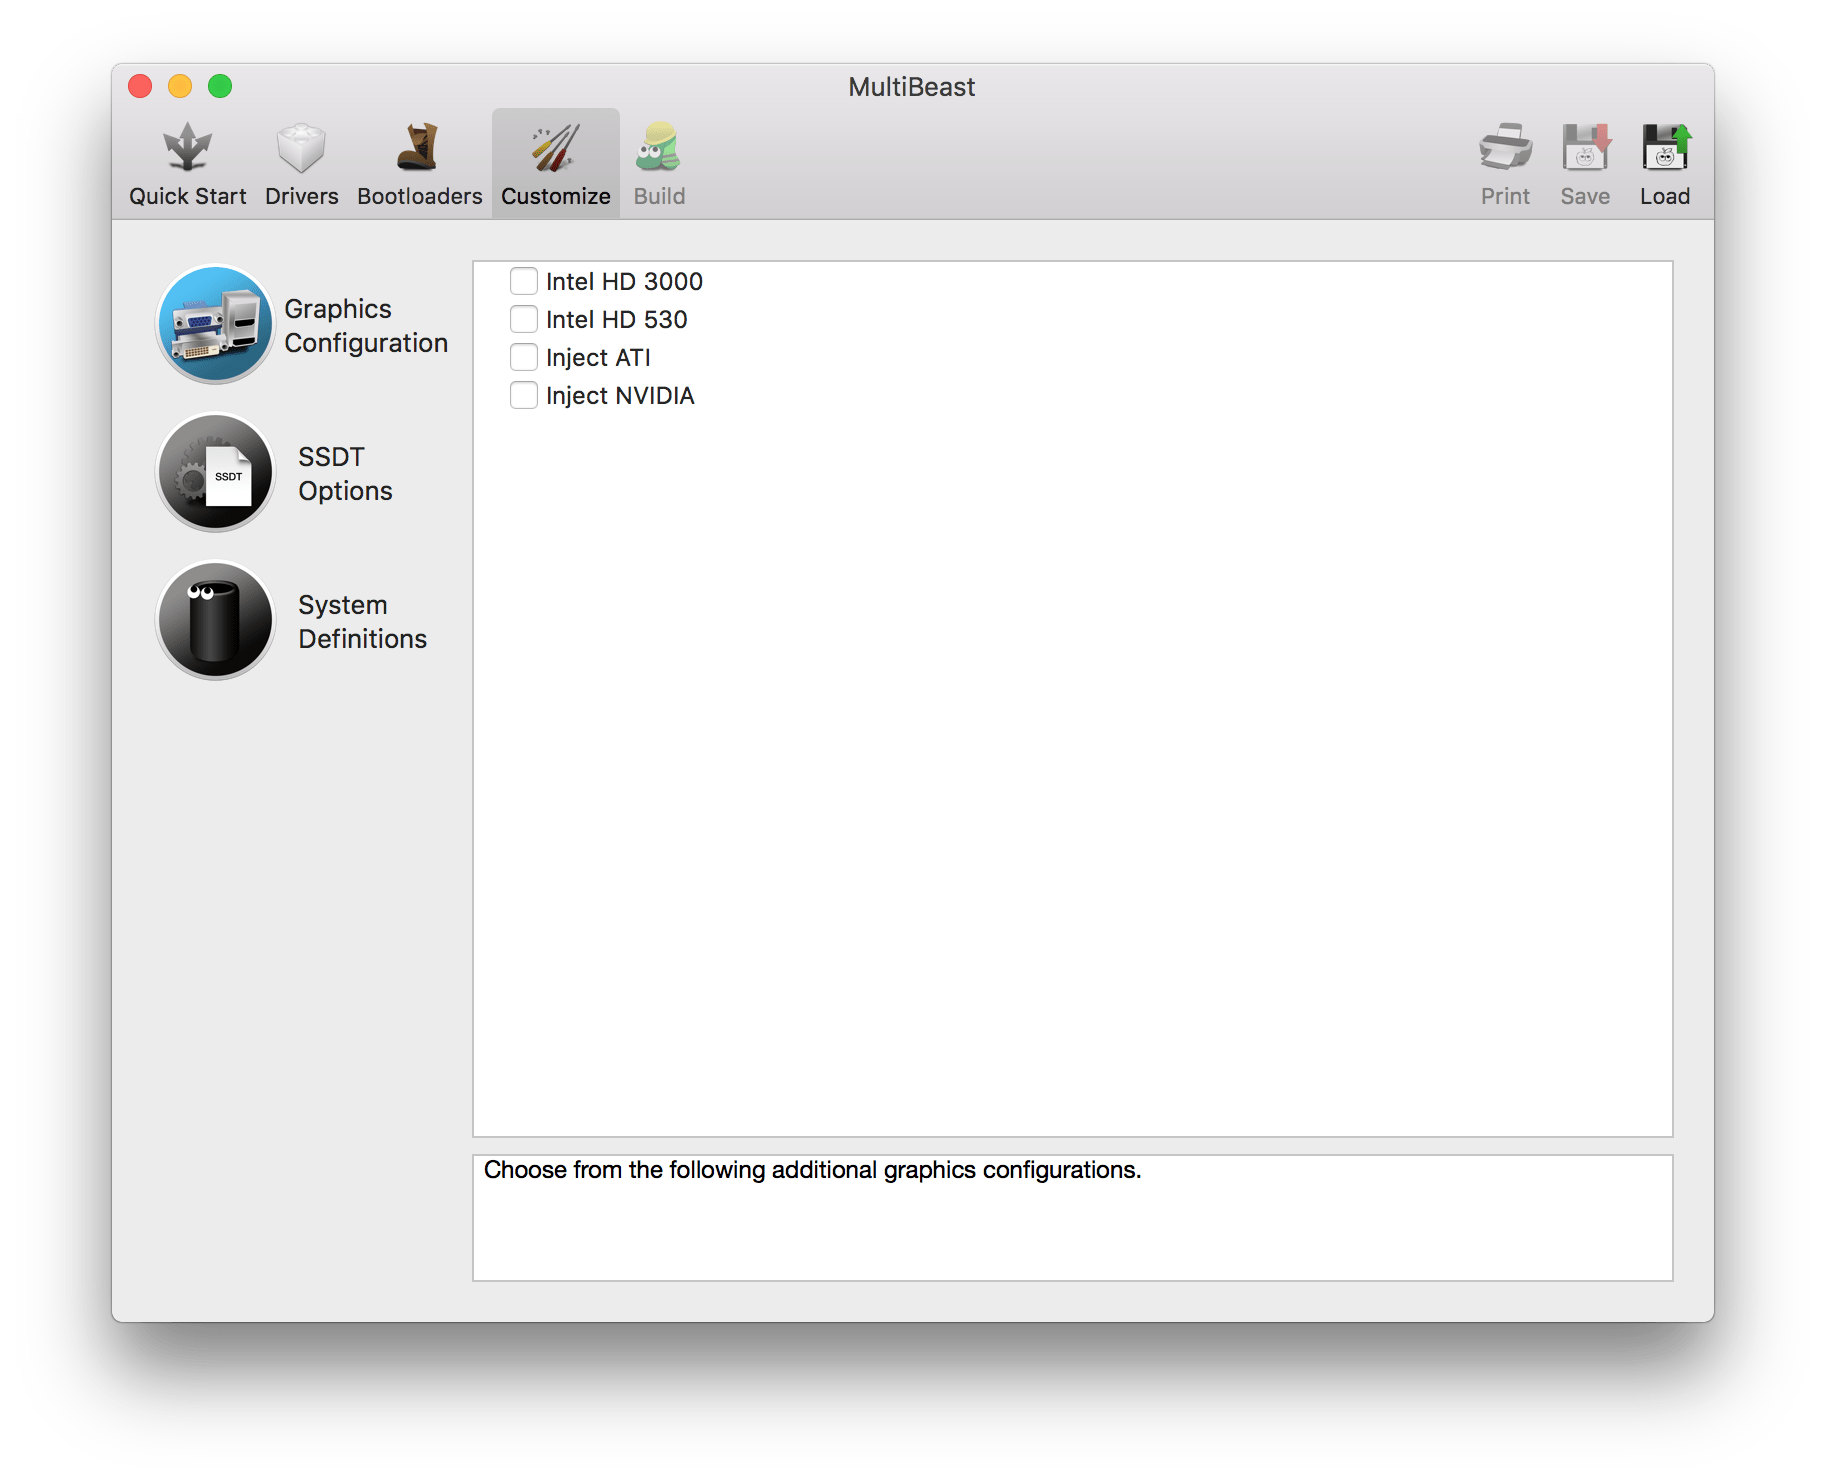
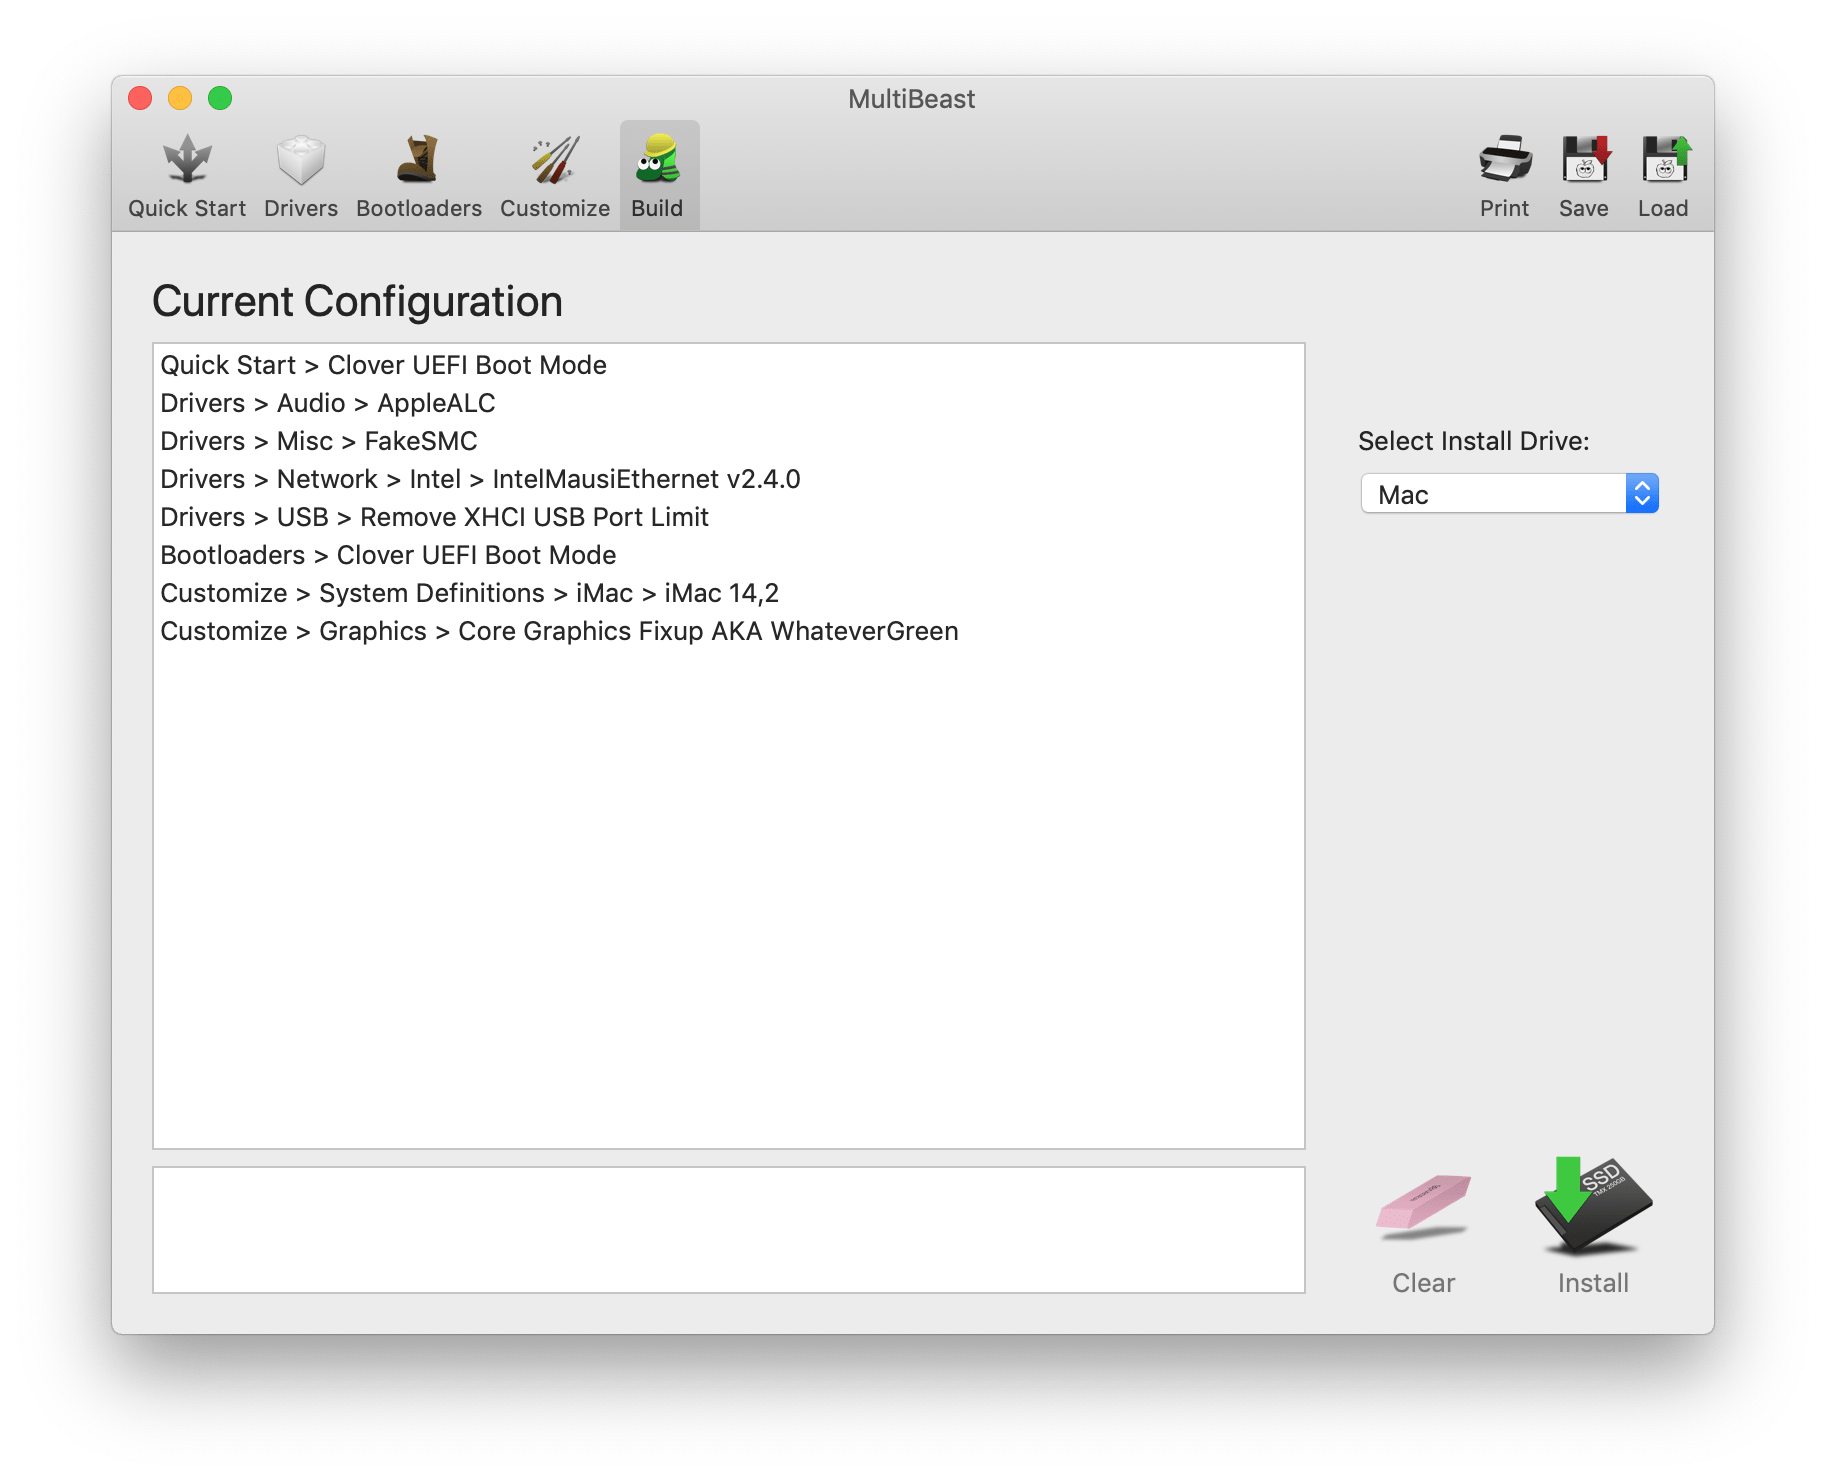
Step 6: Additional Configurations
We have now successfully installed the macOS on Windows. But still, some work needs to be done. For that, Multibeast software will come into the fore. This software makes sure that all the necessary drivers and tools get installed on your Windows for properly running the macOS. Here are the steps to follow. That’s it. You would have now successfully installed the macOS on your Windows PC. Conclusion: With this, we conclude our in-depth guide on the steps to install macOS on your Windows PC. Furthermore, we have also enlisted the instructions for trying out Windows on your Mac. Although the steps might feel a little bit complicated at first, therefore you should give full attention to all the above-mentioned instructions, and follow them in the exact same order. Credit – Saddique Hasan If you’ve any thoughts on Run Mac Applications on Windows PC, then feel free to drop in below comment box. Also, please subscribe to our DigitBin YouTube channel for videos tutorials. Cheers!